Spring is just around the corner and getting your camper ready for summer is an exciting time because this means the time to go RV camping is getting closer.
Many people think that de-winterizing their camper is the only step they need to take to prepare for summer RV camping. But, de-winterizing your camper is just the first step because there are still more important things you need to do to ensure your camper is properly prepped to avoid unnecessary problems down the road.
So I created this How to Get Your RV Ready for Spring/Summer Checklist so you do not miss an important step in the process of getting your camper ready for your first camping trip of the season.
Contents
Follow These Steps to Get Your Camper Ready for Summer to Avoid Problems Down the Road
1. De-winterize Your Camper
De-winterizing your camper is the process of flushing the anti-freeze from the water system. This step can be done with a city water connection or using your fresh water tank and water pump.
When is it safe to de-winterize your RV?
It is safe to de-winterize your RV after the temperatures are going to stay above 32 degrees. If the temperatures drop below freezing the water in your pipes will expand and when this happens your water pipes will break. You don’t want this to happen because this would be a costly mistake.
Watch this video to learn how to de-winterize your camper step by step.
2. Sanitize Your Tanks
Sanitizing your camper tanks does two important things.
First, it’s a deep clean the tanks because who knows what buildup has taken place over the past year in all 3 of your tanks.
And think about your fresh water tank. You are probably not drinking this water unless you have a good filter, but you might be taking a shower in it and washing dishes with it. You want the water in your fresh water tank to be fresh.
Secondly, you want to avoid bad odors. Sanitizing your grey and black tanks will break down and flush things out that cause bad odors. And these odors are never pleasant, but they are especially bad in small spaces.
Sanitizing your RV tanks is easy. Watch this video to see what two simple ingredients I use to get the job done.
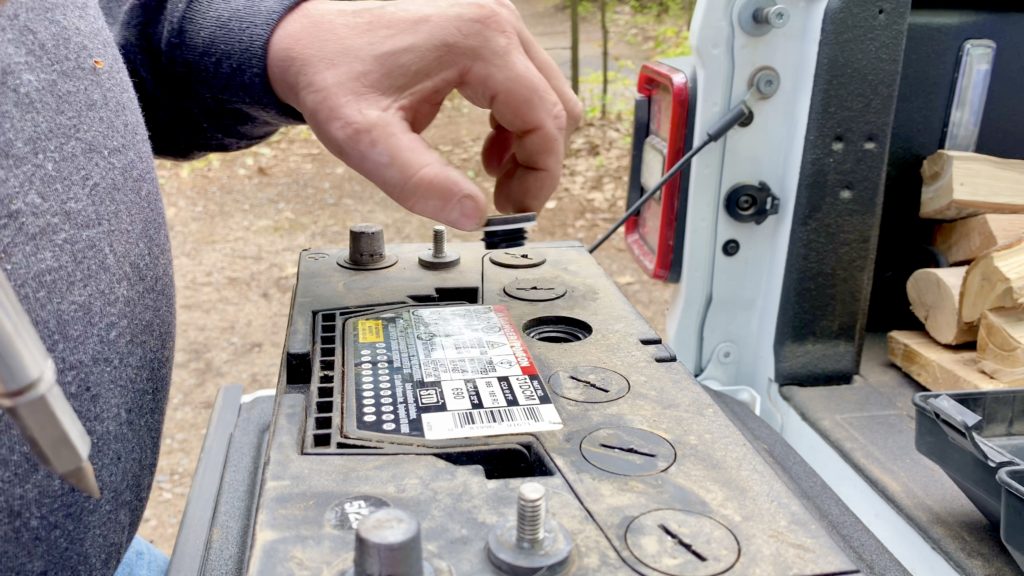
3. Check Your Battery
You need to check your RV battery level because it did lose juice while your RV was in storage. It is important if you have a lead-acid battery that you never let the battery level go below than 50% or you will damage it.
You can use a trickle charger or if you have access to electricity to fully charge it back up to 100%.
If you have a lead-acid battery you should also top it off with water so it is ready to go.
Also, check your battery for corrosion and cracks because corrosion prevents the current from flowing normally and this could cause problems.
Doing a little RV battery maintenance when you de-winterize your RV will help your battery last longer.

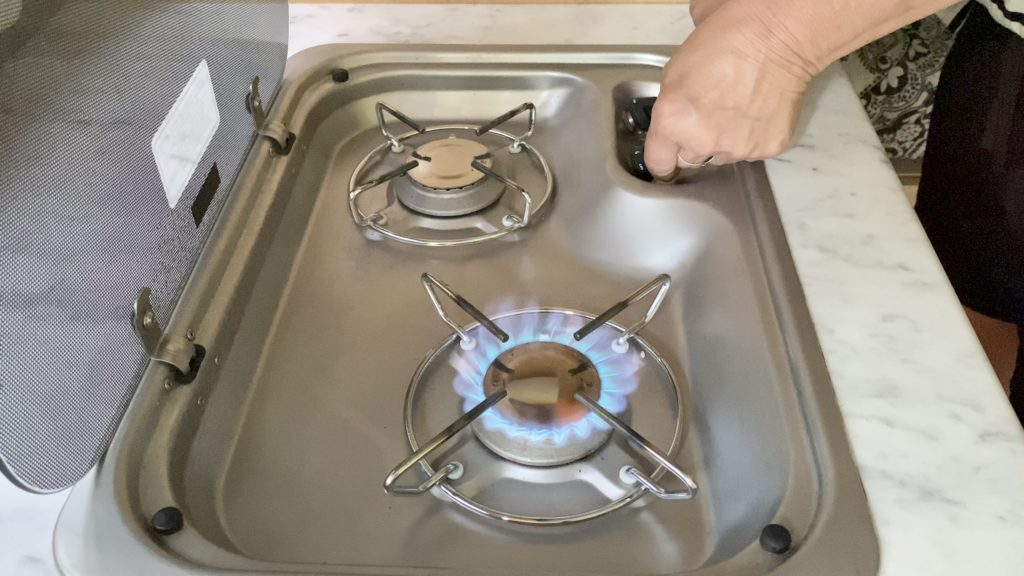
4. Turn On Appliances
Checking your appliances by turning them on is an important step so you know they are working properly. And the best time to do this is when you are de-winterizing your camper because the last thing you want to do is find out you have an appliance problem on your first summer camping trip.
Today more than ever getting an RV serviced or repaired can take a long time to get scheduled especially during the prime summer season. So, find and fix any appliance problems as early as you can.

5. Test Safety Devices
You need to test your smoke detector, carbon dioxide detector, LP detectors, and fire extinguisher to make sure all of your safety devices are functioning properly.
I also suggest you replace all batteries at this time. Batteries are relatively cheap compared to the consequences of a battery going dead in one of these devices.
6. Check Tires
In cold weather tires will deflate so after storing your camper for several months in the winter you will need to inflate them to make sure they inflated to their proper level according to the manufacturer.
Also, look at the threads on the tires and make sure they are safe to be traveling down the road on. Buy new tires if the treads are worn and if the tire is going bald because worn tires could cause a flat tire, a blowout, or result in you losing control of the RV while you are towing it down the road.
7. Inspect Camper Exterior
Walk around your camper and visually check to make sure everything looks good.
Inspect the weatherstripping around the windows and doors. If there’s any sealant that is cracked or peeling, replace it with new sealant. Also, be sure to also check the roof by looking for cracks and fixing any you find to prevent leaks because water damage can turn into a nightmare.
Doing a thorough inspection of the exterior of your camper is a good way to know what needs to be fixed before a minor issue turns into a big problem.

8. Inspect Camper Interior
Like an exterior camper inspection, you also want to do an interior inspection to make sure everything is working on the inside of your RV.
Who knows what you might find. You want to know if there were any mice that made your trailer their home for the winter and left some piles for you to clean up or caused any damage.
9. Wash Bedding
Even if you washed your bedding after your last camping trip it is probably not going to feel freshly cleaned after being stored for several months so wash all your bedding to get your camper ready for your first camping trip of the season.
10. Clean It
The final step to getting your camper ready for summer is to clean it. Doing a deep clean will remove all the dirt and debris that has collected inside over the winter.
Watch this video to learn about my special RV cleaning solution that gets things sparkly clean.

